5 Ways to Use Advanced Layering Techniques in Canva
Maybe you don’t have time, patience, money, or energy to learn yet another software, like Photoshop or InDesign, to create beautiful graphics for your Instagram. Hello - you have a business to run!
And maybe you are sick of seeing the SAME Canva templates scattered all over Instagram, and you want to make sure that your posts stop the scroll with a unique design that captures the attention of your ideal audience.
You want something more than a simple quote post for Instagram.
You want something that looks like a graphic designer worked on it for hours.
You want something that also doesn’t take up a lot of time to create.
And guess what? YOU can do all of this inside of Canva!!
In the video below you will see 5 different ways to use advanced layering techniques (ranked from easiest to most difficult) to inspire you to make something super creative for your next Canva design.
Video Tutorial: 5 Advanced Layering Techniques in Canva
Tools You Need To Know For Advanced Layering Techniques
Now that you have seen five different ways to use advanced layering techniques inside of Canva to make your Instagram graphics stand out, here are some of the tools that you will need to use inside of Canva to make it happen.
ONE - Position
This is the MOST essential tool when you begin to create complex designs inside Canva. This tool allows you to move any type of element around in “layers.” With the element selected you are able to move it all the way to the back of the design, to the front of the design, or anywhere in between. This tool is what makes it so easy to design in Canva while giving it some of the functionalities of Photoshop or InDesign.
TWO - Background Remover
This tool is a bit newer to Canva, but it allows you to remove the background of an image with the click of a button. Something like this would take HOURS inside of Photoshop, or you would have to use another external software to complete this complex visual effect. After removing the background of an image, you are then able to layer the image in different ways to create a stunning design
THREE - Crop
It is essential to use the crop tool when working with larger images that you have removed the background from. When you remove the background from an image, there is often a lot of “blank space” that will get in the way when you begin to layer a complex design. By cropping some of that space out, you can quickly and easily move and layer images, text, and other elements for a seamless and creative design.
FOUR - Duplicate
This tool eliminates the need to hit “CTRL+C” and “CTRL+V” to copy and paste a certain element inside of Canva. This button allows you to easily duplicate any visual element inside of your Canva design with precision and ease. This tool works great for layering when you want to create a 3D effect, a shadow effect, or simply want to create the illusion of the same elements throughout your design.
FIVE - Group
With the group tool, you are able to place certain elements that you select in a “group” together to then adjust the size, transparency, or move around without affecting each individual element. Essentially, the elements grouped together, move together. This tool makes it easy to keep text together, while still allowing the text to remain editable! Or use this tool to maintain consistency throughout your design when moving certain elements around.
SIX - Lock
If you want to make sure a portion of your design is NOT editable, the lock tool is your best friend. This tool is essential if you are using a frame in Canva, you have placed an image in the frame, and you want to ensure that nothing else goes in that frame as you begin to layer your design. If you simply lock that frame, it will remain in place and not allow any further edits. This tool also works wonders for locking certain things to the background to avoid having them moved as you continue to enhance your design.
SEVEN - Transparency
Maybe something is just a bit too big and bold for your design, but you love the overall look of it. Transparency allows you to make ANY element inside of Canva a bit more see-through. You can change how light or dark a shape is, soften the look of bold text, or even make an image see-through for a double exposure effect.
When using all of the tools available to you inside of Canva, you can create something as unique as your brand to post on Instagram or your other social media channels. Advanced layering techniques allow you to expand your creativity and make something visually appealing to stop the scroll and hook in your followers.
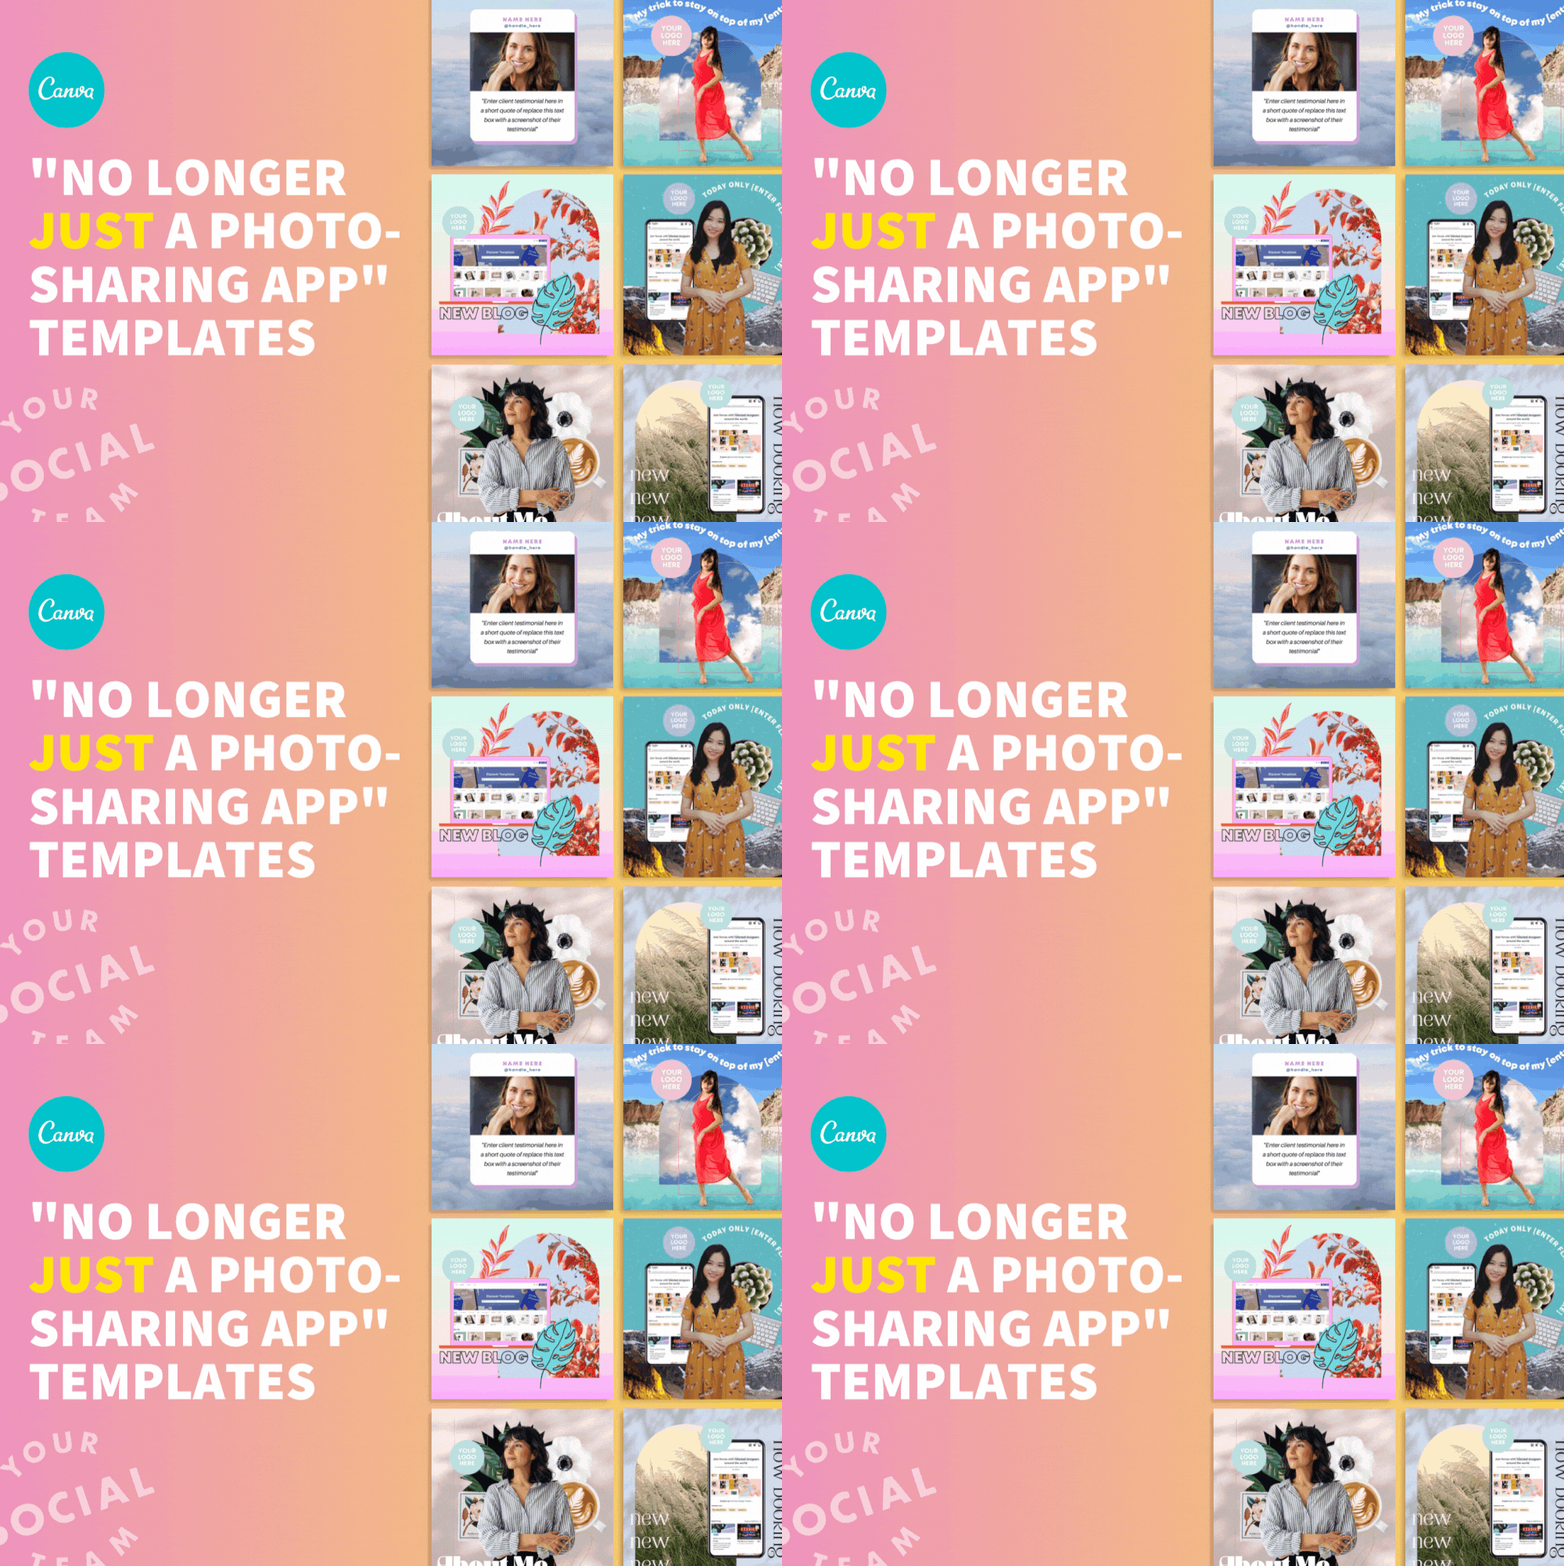
gain access all to all of the canva templates from the video tutorial when you join Your Template club!
Don’t need all the templates?
Shop Instagram templates designed by an expert to grow engagement separately at our template shop!
Manu Muraro is the founder of Your Social Team, an Instagram training membership and template shop that help social media managers and Instagram-savvy small business owners to grow engagement and sales using Instagram and content marketing, without the overwhelm. Born and raised in Brazil, Manu moved to the U.S. in 2000 right out of college to work for Cartoon Network, where she made an award winning career in creative and strategy. In 2021, Manu started Your Template Club, a Canva template subscription service to help social media professionals and Canva-savvy business owners to create content that performs on Instagram, add more Instagram features into their strategy, such as Instagram Lives and Reels, and save time.


